


If you want to keep shin splints at bay, you have to get smart about how you train. It’s a mix of gradually building up your runs, doing specific strengthening work, and giving your body the chance to recover. This means no sudden jumps in your weekly mileage or intensity, picking the right shoes for the job, and maybe swapping some of that pavement for a softer trail.
Just as important is building a resilient foundation with exercises for your calves and shins. Above all, you have to learn to listen to your body’s early warning signs.
Understanding Why Shin Splints Happen
That familiar, throbbing ache along the inside of your shin bone? That’s Medial Tibial Stress Syndrome (MTSS), or what we all call shin splints. It isn't just a random pain; it’s a clear signal from your body that something is wrong. At its core, this is a classic overuse injury, born from repetitive stress that overloads your tibia (shin bone) and the tissues that connect your muscles to it.
For runners, the reasons why it happens are often painfully obvious. The number one culprit is ramping up your mileage or speed too quickly, not giving your body enough time to catch up and adapt. Think of it this way: your bones and muscles get stronger by remodeling in response to the stress of running. But if you pile on that stress too fast, they start to break down quicker than they can rebuild.
The Anatomy of Overuse
This breakdown doesn't happen in a vacuum. It's usually accelerated by a few key things that a lot of runners, especially newcomers, tend to overlook. Getting a handle on these factors is the first real step toward building a training plan that actually prevents injuries.
- Training Errors: This is the big one. Sudden spikes in how long, how often, or how hard you run are a surefire recipe for shin pain.
- Hard Surfaces: Pounding unforgiving pavement like concrete or asphalt, day in and day out, sends a massive amount of impact force straight up your legs.
- Worn-Out Footwear: Running in shoes that have lost their cushion and support is like driving a car with shot suspension. Every single step sends more shock and stress directly to your shins.
- Biomechanical Issues: Things like flat feet or overpronation (where your foot rolls too far inward) can mess with your running mechanics, putting uneven stress on the muscles and bones in your lower legs.
These problems rarely work alone. Usually, it's a combination—like a new runner who doubles their mileage on city sidewalks while wearing a pair of old, beat-up sneakers—that creates the perfect storm for MTSS.
The Role of Progression and Terrain
Time and again, research shows that how you train is what matters most. One of the most effective ways to prevent shin splints is simply to progress your training at a sensible, gradual pace. Study after study confirms that runners who make sudden, huge jumps in their training load are at a much higher risk.
The Mayo Clinic, for example, champions the "10% rule". The idea is simple: don't increase your total training volume by more than 10% each week. This gives your body a fighting chance to adapt. This single strategy has been shown to significantly reduce the risk of MTSS, an injury that can sideline up to 35% of runners at some point.
Key Takeaway: Shin splints are a direct result of doing too much, too soon. That pain is your body telling you the load is too heavy for your tibia and muscles to handle. Prevention isn’t about stopping; it's about training smarter.
To bring it all together, let’s look at the core pillars of a solid prevention plan. These are the big-picture strategies that form the foundation of injury-free running.
Core Strategies for Shin Splint Prevention
| Prevention Pillar | Primary Goal | Why It Works |
|---|---|---|
| Progressive Loading | Gradually increase training stress | Allows bones, muscles, and tendons time to adapt and strengthen, preventing overload and tissue breakdown. |
| Strength & Mobility | Build resilience in the lower legs | Stronger calf and shin muscles absorb impact better, while good mobility ensures proper running mechanics. |
| Proper Form & Footwear | Reduce unnecessary impact forces | Efficient running form and supportive shoes distribute stress evenly, taking the strain off the shin bones. |
| Smart Recovery | Promote tissue repair and reduce inflammation | Rest, nutrition, and techniques like foam rolling help the body heal from training stress before it becomes an injury. |
Ultimately, a proactive approach that combines these elements is your best defense. By being methodical with your training and attentive to your body, you can turn shin splints into something other people get.
Build Resilience with a Smart Training Progression
If you ask any seasoned runner or physical therapist about the fastest way to get shin splints, they'll all tell you the same thing: doing too much, too soon. It’s an unglamorous truth, but our bodies have a finite capacity to adapt to stress. Pushing past that threshold doesn’t magically make you fitter; it just breaks down tissue faster than your body can repair it. That's the perfect recipe for the dreaded pain of Medial Tibial Stress Syndrome (MTSS).
Smart training isn't about being overly cautious or holding yourself back. It's about playing the long game. The goal is to build a durable, resilient body that can handle consistent training without the frustrating cycle of injury, rest, and rehab. The key is managing your training load—the delicate mix of how far, how fast, and how often you run.
This visual perfectly illustrates how a simple training error can snowball into a painful injury.

As you can see, what starts as simple overuse puts excessive strain on the shinbone, and before you know it, you're dealing with serious pain.
Stick to the 10 Percent Rule
You’ve probably heard of the "10 percent rule," and for good reason—it's a tried-and-true guideline in the running world. The concept is simple: don't increase your weekly running mileage by more than 10% over the previous week. This gives your bones, muscles, and connective tissues the time they desperately need to adapt to the new demands you're placing on them.
For example, if you ran a total of 15 miles this week, you shouldn’t aim for more than 16.5 miles next week. It's this slow, steady, and patient approach that acts as your best defense against overloading the tibia. That classic mistake of jumping from 15 miles one week to 25 the next is practically an invitation for shin pain.
But remember, mileage is only half the story. The 10 percent rule also applies to intensity. If you're adding speed work like intervals or a tempo run, that's a significant increase in your training load. A common mistake is to increase both mileage and intensity in the same week—don't do it.
My go-to advice: Alternate your focus each week. One week, add a mile or two to your long run but keep everything else easy. The next week, keep the mileage the same but maybe introduce a short, faster workout. This gives your body a chance to adapt to one stressor at a time.
Learn to Speak Your Body’s Language
Rules and percentages are fantastic tools, but your absolute best guide for preventing shin splints is your own body. You have to learn how to listen to its feedback and, more importantly, respect what it's telling you. There’s a world of difference between the satisfying ache of a good workout and the sharp, targeted pain of an impending injury.
- Good Pain (Delayed Onset Muscle Soreness): Think of this as a dull, generalized ache in your muscles that shows up 24-48 hours after a tough workout. It usually feels better with some light movement and goes away in a day or two.
- Bad Pain (Injury Warning Signal): This is the one to watch out for. It’s often a sharp, specific pain right along the shinbone. It might pop up during a run, get worse as you go, and stick around long after you've stopped. If you can point to the pain with one finger, that's a major red flag.
If you feel that specific, nagging ache along your inner shin, please don't try to "run through it." That's your body's early warning system screaming at you. Back off immediately. It is always better to take a couple of extra rest days or swap a run for the elliptical than to push through and wind up with a full-blown case of MTSS that could sideline you for weeks or even months.
What This Looks Like in Practice
So, how do you put all this together? Let’s look at a couple of real-world examples. These progressions show you how to apply the 10% rule safely, whether you're just starting out or you're an experienced runner building back your base. For anyone brand new to the sport, our guide on a running schedule for beginners is a great place to start.
Here are two sample progressions to give you an idea:
Progression for a New Runner
| Week | Total Weekly Mileage | Longest Run | Notes |
|---|---|---|---|
| 1 | 6 miles | 2 miles | Focus on getting out the door for 3 easy runs. |
| 2 | 6.5 miles | 2.5 miles | A tiny increase to let your body adapt. |
| 3 | 7 miles | 2.5 miles | Keep the long run the same, add a bit to other runs. |
| 4 | 8 miles | 3 miles | A solid but very safe bump in total distance. |
Progression for an Experienced Runner (Building a Base)
| Week | Total Weekly Mileage | Longest Run | Notes |
|---|---|---|---|
| 1 | 20 miles | 6 miles | Re-establishing a consistent running routine. |
| 2 | 22 miles | 7 miles | A classic 10% jump, mostly from the long run. |
| 3 | 24 miles | 7 miles | Mileage added to the mid-week runs this time. |
| 4 | 26 miles | 8 miles | Another controlled and smart increase in volume. |
These tables really highlight the need for patience. Running is a long-term journey. The goal isn't to see how fast you can cram in more miles, but to build a body that can handle running consistently, happily, and pain-free.
Bulletproof Your Shins with Strength and Mobility
A smart training plan is crucial for preventing shin splints, but it's only half the battle. The other piece of the puzzle is building a lower body that can actually handle the impact of running. Think of strong, flexible lower leg muscles as your body's personal shock absorbers—they protect the shin bone with every single stride.
When those muscles are weak, especially in the calves and along the front of the shin, the bone itself is forced to absorb stress it was never meant to take. That's a direct route to the micro-trauma and inflammation we call shin splints.
The good news is you don't need to spend hours in the gym. By consistently doing a few key exercises, you can fix these imbalances and build a resilient foundation from the ground up.
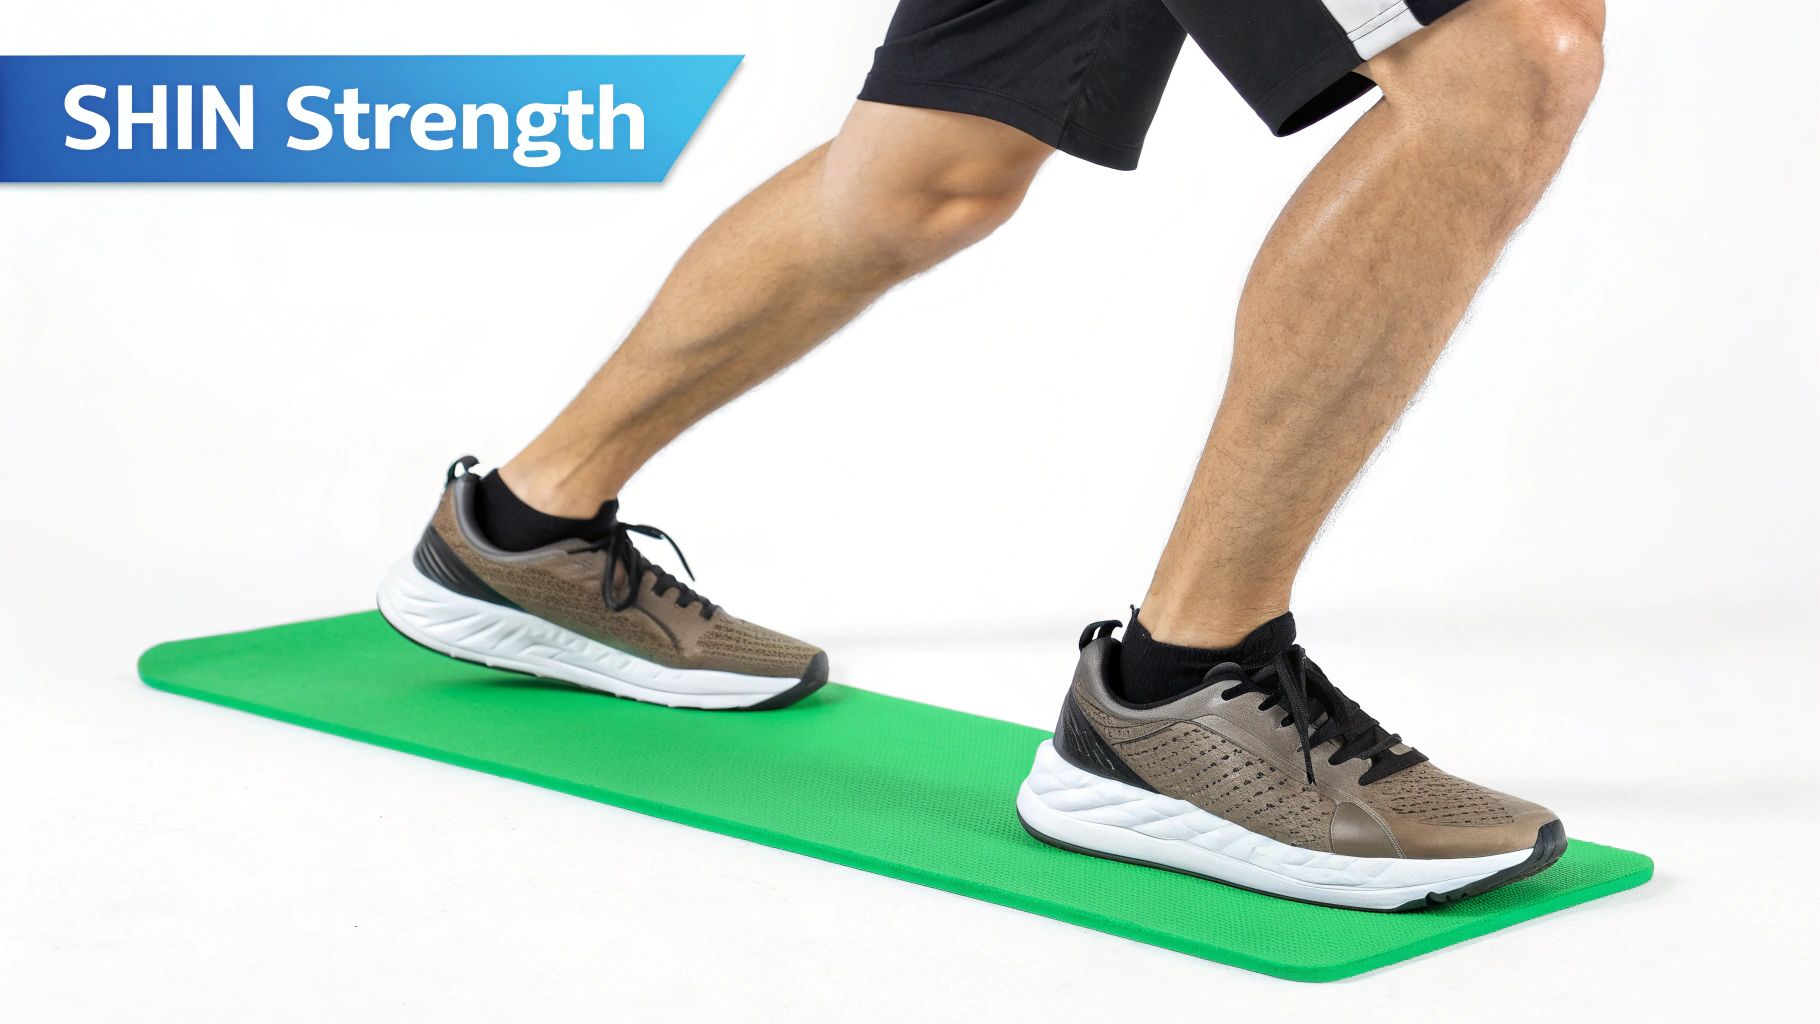
Essential Strengthening Exercises for Your Lower Legs
To really fortify your shins, you have to target the muscles that surround and support the tibia. That means hitting the powerful calf muscles (your gastrocnemius and soleus) and the often-overlooked muscle on the front of your shin, the tibialis anterior.
Why is that front muscle so important? A strong tibialis anterior controls how your foot lands, preventing that excessive "slapping" motion that sends shockwaves right up the shin.
Try to weave these into your routine two to three times a week, preferably on days you aren't running.
- Standing Calf Raises: This is the classic for a reason—it targets the big gastrocnemius muscle. Stand with your feet flat, rise slowly onto the balls of your feet, and pause for a beat at the top before lowering with control. Aim for 3 sets of 15-20 reps.
- Seated Calf Raises: To hit the deeper soleus muscle, you need to bend your knees. Sit on a bench or chair with your feet flat, place a weight on your thighs for resistance, and perform the same calf raise motion. Go for 3 sets of 15-20 reps.
- Tibialis Anterior Raises: This is your secret weapon. Stand with your back against a wall, heels about a foot out. Keeping your legs straight, pull your toes and the front of your feet up toward your shins as high as you can. You'll feel it working immediately. Hold for a second, then lower slowly. Do 3 sets of 12-15 reps.
These three exercises work together beautifully. The calf raises build the propulsive power and shock absorption in the back of your leg, while the tibialis raises strengthen the front. The result is a balanced, protective muscular "sleeve" around your shin bone.
Pro Tip: Don't just bounce through the reps. The lowering phase of each exercise is where you build incredible strength and tendon resilience. Focus on a slow, controlled descent.
Unlocking Mobility for Better Biomechanics
Strength without mobility can cause its own set of problems. If your calf muscles are super tight, they can limit your ankle's range of motion—specifically your ability to pull your toes up toward your shin (dorsiflexion).
Poor dorsiflexion is a known culprit in bad running form. It often leads to overstriding and a heavy heel strike, which puts a ton of stress right back on your shins. Improving your mobility lets your body move the way it's supposed to, making your stride more efficient and less jarring.
Foam Rolling for Your Calves
A foam roller is one of the best tools for releasing tension and restoring flexibility to your calves.
- Sit on the floor and place the foam roller under one calf.
- Use your hands to lift your hips, putting pressure on the muscle.
- Slowly roll from your ankle up to just below your knee.
- When you hit a tender spot, don't rush past it. Pause there for 20-30 seconds and breathe, allowing the muscle to release.
- Rotate your leg in and out to hit the muscle from different angles. Spend a good 1-2 minutes on each leg.
Essential Ankle Mobility Drills
Dynamic drills are perfect for actively improving your ankle's range of motion.
- Ankle Circles: Whether you're sitting or standing, slowly rotate one ankle in the biggest circle you can manage. Do 10-15 circles in each direction. It's a simple move that helps lubricate the joint.
- Heel and Toe Walks: These are fantastic for both strengthening and mobility. Walk for 30 seconds on just your heels (this is another great way to work the tibialis anterior!), then immediately switch to walking on your toes for 30 seconds to fire up the calves. Repeat the cycle 3-4 times.
By combining these strength and mobility routines, you stop chasing symptoms and start fixing the root cause. You’re building a lower body that’s not just prepared for running, but one that's truly resilient. This is how you keep shin splints from ever coming back.
Choosing the Right Shoes and Running Surfaces
The connection between your feet and the ground is where the magic—or the misery—of running happens. Every single foot strike sends force shooting up your leg. What you put on your feet and the ground you choose to run on will determine whether you build a resilient, injury-proof body or one that’s constantly battling aches and pains.
When it comes to preventing shin splints, getting this right is non-negotiable.
Think of your running shoes as your primary shock absorbers. A good pair dissipates the impact from each stride, protecting your bones and connective tissues. The wrong pair, or a pair that’s way past its prime, does the exact opposite. It essentially channels all that stress straight into your shins.

This isn't about dropping cash on the most high-tech, expensive shoe you can find. It’s about finding the right shoe for your body.
How to Select the Right Running Shoes
I know, walking into a running store can feel overwhelming. You're hit with a wall of shoes and a bunch of jargon like "pronation," "stack height," and "heel drop." The absolute best place to start is a specialty running shop that can perform a gait analysis. This is simply where an expert watches you run for a few seconds on a treadmill to see how your foot behaves when it hits the ground.
This quick analysis will tell them your pronation pattern, which is just the natural way your foot rolls inward to absorb shock.
- Neutral Pronation: This is the ideal. Your foot rolls inward just the right amount, and you’ll feel best in a "neutral" shoe.
- Overpronation: Your foot rolls in a bit too much, which can put a ton of extra strain on your lower leg muscles. A "stability" shoe with some built-in support can work wonders here.
- Supination (Underpronation): Your foot doesn't roll inward enough, causing impact to jolt the outside of your leg. You'll likely need a well-cushioned, flexible neutral shoe.
Getting the right support is a game-changer, especially for runners with anatomical quirks like flat feet, a common contributor to overpronation. Finding a shoe designed to support your arch can make all the difference. To dive deeper, check out this guide on the best running shoes for flat feet to see how specific footwear can help keep shin splints at bay.
Know When to Retire Your Shoes
Even the perfect shoe doesn't last forever. The foam midsole that provides all that wonderful cushioning breaks down with every mile you run, losing its shock-absorbing powers long before the shoe actually looks beat up. I see it all the time—runners trying to squeeze a few more weeks out of dead shoes and ending up with shin splints.
A running shoe’s lifespan is typically between 300 and 500 miles. If you're running 20 miles a week, you should be thinking about a new pair every four to six months. Don't go by looks; track your mileage.
Little aches and pains cropping up in your shins, knees, or feet are a huge red flag. Another tell-tale sign is if you press your thumb into the midsole and it feels flat and firm instead of spongy.
The Impact of Running Surfaces
Where you run matters just as much as what you wear. The ground beneath your feet can either be your ally or your enemy. While you can't always be picky, understanding how different surfaces affect your body is key to smarter training.
Here's a quick breakdown of the usual suspects:
| Surface | Impact Level | Pros | Cons |
|---|---|---|---|
| Concrete | Very High | It's everywhere and it's smooth. | Incredibly unforgiving. The hardest surface on your joints. |
| Asphalt | High | Softer than concrete, also common. | Still a very hard surface that can lead to overuse issues. |
| Treadmill | Medium | The deck is designed to absorb impact. | Can get boring; doesn't prep you for uneven outdoor terrain. |
| Trail/Grass | Low | Soft, natural, and easy on the legs. | Uneven ground demands more from your stabilizing muscles. |
| Synthetic Track | Very Low | Engineered for maximum shock absorption. | The constant turning can create imbalances if you always run the same way. |
So, what's the secret? Mix it up.
Variety is your best defense against the repetitive stress that causes shin splints. If you spend most of your week pounding the pavement, try to swap one or two of those runs for a session on a trail, a grassy field, or even the treadmill. This simple change gives your legs a break from the relentless impact and drastically cuts down your risk of injury.
Fine-Tuning Your Running Form and Cadence
How you run matters. A lot. It’s often just as important as how much you run, and it's a piece of the puzzle many people overlook. Inefficient running mechanics can be a hidden saboteur, placing a ton of unnecessary stress on your lower legs with every single stride.
Fine-tuning your form isn't about looking like an elite runner on TV. It’s about finding small, powerful tweaks that make your running feel smoother and dramatically reduce that pounding impact.
Think of your body as a spring. When your form is off—like landing with your foot way out in front of you (overstriding)—it creates a harsh braking force that sends a jolt right up your shinbone. By focusing on a few key elements, you can learn to run more efficiently, keep that impact to a minimum, and finally get a handle on how to prevent shin splints.
Increase Your Cadence to Reduce Impact
One of the single most effective changes you can make is to work on your cadence. Simply put, this is the number of steps you take per minute. A lot of runners, especially when they're starting out, have a naturally slow cadence. This almost always leads to overstriding and a heavy, pounding foot strike that your shins absolutely hate.
When you consciously increase your cadence, you naturally shorten your stride. This encourages your feet to land more directly underneath your center of mass instead of way out in front. This simple shift can slash the braking forces that put so much stress on the tibia.
While the old "180 steps per minute" rule isn't a magic number for everyone, aiming for a 5-10% increase from whatever your current cadence is is a fantastic place to start.
Aiming for a cadence somewhere between 170-180 steps per minute is a solid target for many runners. It helps reduce harsh impact forces by forcing you to take lighter, quicker steps, which is so much kinder to your shins.
You can track your cadence with most running watches, or even find playlists on Spotify set to a specific beats-per-minute (BPM) to help you sync up. It’ll probably feel a bit weird at first, almost like you're taking choppy "baby steps," but stick with it. Your shins will thank you.
Practical Cues for Your Next Run
Trying to think about complex biomechanics while you’re huffing and puffing on a run is a recipe for disaster. It’s just too much. Instead, focus on simple, actionable cues that you can repeat to yourself when you're out there.
- "Run Softly." This is my absolute favorite cue. Just imagine you're trying to sneak up on someone. That simple thought encourages you to land lighter and quieter, which naturally dials back your ground impact.
- "Land Under Your Hips." This one is a direct attack on overstriding. As you run, just visualize your foot touching down right underneath your body, not way out in front. This will help you find a more efficient midfoot strike.
- "Keep Your Feet Close to the Ground." Think less about a big, bounding stride and more about a low, quick shuffle. This helps keep your turnover fast and prevents you from getting too much "air time," which often leads to a harder landing.
Pick one cue and focus on it for a few minutes during each run. Over time, these small adjustments will start to feel natural and become part of your ingrained muscle memory.
The Non-Negotiable Warm-Up and Cool-Down
Showing up to a run with cold, stiff muscles is like trying to stretch a cold rubber band—you’re just asking for something to snap. A proper warm-up and cool-down are not optional extras. They are essential parts of your run that get your body ready for the work and kickstart the recovery process right away.
A dynamic warm-up is crucial. This isn’t about old-school static stretching; it’s about active movements that ramp up blood flow to your muscles and get your joints primed for running.
Sample 5-Minute Dynamic Warm-Up
- Leg Swings: 10-12 forward-and-back swings per leg, then 10-12 side-to-side swings.
- High Knees: 30 seconds, focusing on bringing your knees up toward your hips.
- Butt Kicks: Another 30 seconds, trying to kick your heels back toward your glutes.
- Walking Lunges: 10 lunges on each leg to really open up those hips.
On the other end, the cool-down helps your body gradually shift from high gear back to rest. Stopping on a dime can cause blood to pool in your legs. A great cool-down just needs a few minutes of walking followed by some gentle static stretching.
Sample 5-Minute Cool-Down Routine
- Walk: First, just walk for 2-3 minutes to let your heart rate come down slowly.
- Calf Stretch: Find a wall or curb and hold a standard calf stretch for 30 seconds on each side.
- Hamstring Stretch: Sit down, reach for your toes, and hold for 30 seconds.
- Quad Stretch: Stand up and gently pull your heel toward your glute, holding for 30 seconds per leg.
When you make these routines the non-negotiable bookends to every single run, you prime your body for success and give it a head start on repairing the micro-damage from your workout. It's this consistency that builds a truly resilient, injury-free runner.
Got Questions About Preventing Shin Splints? We've Got Answers
When you're dealing with something as nagging as shin splints, a lot of questions come up. Even the most dedicated runners run into confusion. Let's clear the air on some of the most common things I hear from athletes trying to keep their lower legs healthy.
"Can I Just Run Through the Pain?"
I get this one all the time, and the answer is a firm, unequivocal no.
Trying to "tough it out" when you feel that first twinge of shin pain is one of the worst things you can do. Pain is your body's alarm system—it's signaling inflammation and micro-damage. Ignoring it is like hitting the snooze button on a fire alarm. What starts as a minor irritation can quickly escalate into a full-blown injury, or even worse, a stress fracture that will take you out of the game for months.
Listen to your body. Taking a rest day (or a few) isn't weakness; it’s the smartest move you can make in any training plan.
How Long Until These Prevention Strategies Actually Work?
Everyone wants a quick fix, but building bulletproof lower legs takes time. This isn't an overnight solution.
You might start feeling a difference from exercises like calf raises and tibialis raises within a couple of weeks, but the real, lasting protection comes from consistency over the long haul. Think of it as investing in your running future. It’s the months of dedicated strength work, smart training increases, and form tweaks that create truly resilient muscles and bones.
The goal here isn't a band-aid for your next run. It's about building a body that can handle the demands of running for years to come.
Will Compression Socks Fix My Shin Splints?
Compression socks and sleeves are everywhere, and they can definitely be a helpful piece of the puzzle. The targeted pressure feels supportive, can help reduce muscle vibration on the run, and may even improve circulation, which is great for recovery.
But let's be crystal clear: they are a tool, not a cure.
Compression gear can be fantastic for managing symptoms, but it won’t fix what’s actually causing the pain. If weak muscles, old shoes, or a poorly designed training plan are the culprits, a pair of socks is just masking the problem. For runners tackling bigger goals, like understanding how many miles are in a half marathon and training for it, you need a real prevention plan—not just an accessory—to stay healthy.
When Is It Time to See a Doctor?
Self-managing a minor ache is one thing, but there are some definite red flags you should never ignore. It's time to call a doctor or physical therapist if you experience any of the following:
- The pain is severe or gets progressively worse.
- It hurts even when you're just walking around.
- You see visible swelling or redness along your shin.
- There's one specific spot on the bone that is excruciating to touch.
These could be signs of a more serious problem, like a stress fracture, that needs a professional diagnosis. Don't play the guessing game. Getting an expert opinion is always the fastest and safest route back to the road.
At THE RUNNING, we believe that a smarter runner is a healthier runner. Whether you're just starting out or aiming for a new personal best, our expert guides and training plans are designed to help you run stronger and stay injury-free. Discover everything you need for your journey at https://www.the-running.com.